Tuesday, 25 June 2013

An update and a Tutorial

Hello there mini friends…
We've had some rainy days but it's Wimbledon and my grandma always used to say that this was the best time to catch the sun and she was right because today is beautiful so I popped outside to take even more pictures of the caravan.


I've had a sudden burst of mini-making and got lots of little things done on the van and even though I change my mind all the time (woman’s prerogative) you can actually see it coming together in the sneak, peek, interior picture below.  I’ll also show you have I made the little hanging basket hooks and next time I’ll show you how I made the baskets and flowers to go on them.  

First off the latest pictures...


As you can see I've done a bit more painting just to bring it all in line... I may still add more, I'm trying to be careful so as not to over-kill :)


Now for the sneak peek inside...

Sooooo much to do still in here...
Yes so far its looks like shocking pink V's yellow, but I can assure you that once the rest of the decorating is completed inside it won't look quite so scary lol.  Note the little step stool that I painted gold and re-covered and also the seat pads.  Below you can see I've still got to make a little fire light so that the stove lights up and You can just see the bead curtain too.


I plan on splitting off the bed section and so far I've made a wooden frame that needs curtains, I plan on making the back section of the bed have mirrored cupboards... we shall see how this looks when i test it out, as always the plans could change. Well I guess you will have to take my word for it, it WILL look fantastic once it's complete but I will have to work out how to take a good picture in such a tiny space.  

Lastly, here is how I made those little hanging basket hooks...

YOu will need a tiny piece of thin wire, the stuff you find in a ring bound note pad is fine for this,  some florists wire and a bit of card.

Cut a strip of card around 3-4mm in width and aprox 6-8 cm long.  Cut the wire to about 2.5 - 3cm long and bend each end  so it curls round.

Like this!

Make a fold in the centre of the card.

Poke two tiny holes in the card around 1.3cm from the bend on both sides.  

Cut two lengths of fine florist wire.

Twist the wire around each end of the hook.

Thread the thin wire through the holes in the card.

Spread some glue along the back of the card, fold down the wire and then fold over the edge of the card ...

Do the same on both sides so it looks like this.  I like to leave a end just to help with holding it during painting but this should be trimmed later.


Paint it gold, trim the end and stick it to your wall.
As always thank you for your lovely comments, I do love to hear from you.
Till next time, big mini hugs
Gill x

Wednesday, 19 June 2013

The outside so far

Hello all, well I must apologise if you have been awaiting an update because I was suddenly bombarded with pram orders so my poor tired hands have been working away making lots of mini prams.  I’m at the end of my orders now and so I thought I would wet your appetites with a few pictures of my (still unfinished) caravan sitting out in the garden.  A you can see most of the outer is now complete bar a few more flowers, and a dot of paint here and there.  I plan on making seat cushions for either side of the door and I want to pop up some interesting bunting and flowers and other odds and ends on the outside.  I even plan on making a couple of chickens to pop in the cages on the sides, but I have to get some white feathers first.

So, for now, here she is, in all her glory… Hopefully I’ll get some time to work on her again soon and she’ll start to come to life even more.

Till next time….

Gill x


Tuesday, 19 March 2013

Hello again...
Gosh how time has escaped me this week... lots of things on, got very busy creating a new style tandem pushchair.  Well my blog has reached the 50 followers mark and so it is time to declare the winner of my giveaway. The giveaway was for two little covered books, a necklace, a cup, saucer, plate and cupcake and some old letters.


The winner is
 DRORA

Congratulations!

 Send me your address Drora and  shall forward your minis to you shortly.


Friday, 8 March 2013

Transfers and stove


Hello mini friends…

The caravan is moving forward… I decided against adding the wheels yet because I thought I may break them when trying to kit out the interior.  So I continued with my transfers. 


As you can see they look quite effective but they didn’t stand out enough so I roughly painted the top face of the (fake) wood trim and this worked better.  I’ve learned a lot about transfers and making your own etc, learned more about how to attach them too.  I remember using transfers as a child and it was fairly easy but when making something so small, there is much more intricacy involved.  


I popped on the door frames inside and out.


Next I decided I’d tackle the slightly daunting task of gluing on tiles around the stove area. 

The tiles I made by printing photo paper tiles, gluing it onto card (you have to love the versatility of card lol) then I painstakingly and carefully cutting out each one. 


I began to glue them in place making sure they were not too neat but not too untidy either. 

Some of the gaps around the stove were a bit fiddly but I got there, easy to cut card to fit ;)

And here it is finished…


 We'll soon be on the fun bit of interior decorating very soon :)

Well, I'm off to make prams, see you soon.
Gill x


Monday, 11 February 2013

The roof and outer walls


Hello mini friends...
The caravan is coming along, on the outside at least.  I have made the roof now and although I did want windows up top like a real one, I chickened out due to lack of time and lack of skill in woodwork.  While I might be creative with many other mediums wood is not my thing and cutting such small windows out was not going to work for me so I gave in and decided to decorate the roof instead.  Not sure I am completely happy with my decision but I can still change it at a later date, but for now the roof is a lovely purply-red colour, very warm and deep.

Here are some pictures of the roof being created...


I wanted to make windows for this section of the roof but didn't in the end.


I needed more detail on the outer walls of the caravan so I added plastic strips, yes plastic!  I could not find wood in the sizes I wanted and as I say, I’m rubbish with wood work, perhaps if I had a proper workshop and tools it would be better but as you can see, the plastic works fine and not only that it was a bargain as it was in an ‘end of line’ sale so only cost £1 per pack! 


Anyway the plastic strips all in place and a coat of paint and its starting to look a lot more like I want it to.  Oh you remember I said I might use transfers instead of hand painting all the flowers, well I made transfers, finally after a bit of a kafuffle – needed spray varnish to make them, then my printer ran out of ink, then the printing went a little wrong – I guess these things happen to the best of us haha.  Anyway I didn’t want the transfers to look too clean or too perfect and they don’t!  Which is great news!  Have a look at the door, it’s got transfers on it and I’ve managed to make them look a bit worn so I’m happy.  It all adds to the overall effect.  


I want to get the summer bars and the wheels attached this week if possible then it will really only be the inside I have to work on.

If you have not already entered my giveaways check out the two links below.

Gypsy Caravan Giveaway
Teeny Tiny Things
See you soon
Gill x

Monday, 28 January 2013

Bead curtian and more painting...


Hello there, well the caravan project is running at a gentle pace.  Lately I’ve been mainly painting, gluing and modifying things and researching real size caravans of the same sort too.  Research forms a massive part of miniature creation.  I noted that most caravans have a closed off stove area, often with a tilled back and a mirror and sometimes a small shelf for ornaments above the stove, much like if it were a fireplace.  I’ll be doing the same in my caravan.  


I thought I’d show you first my efforts with my bead curtain that will sit over the doorway eventually.  After some time spent threading multi-coloured beads onto thread I decided two things, one there was too little weight so the beads did not drop down but instead they floated at strange angles and two, it didn’t look as ‘real’ as I wanted it to.  So I scrapped that and went with bugle beads, seed beads and cotton, this coupled with a slight unevenness gave me both a weighted curtain and one that had more possibility of looking real when in place.  


After I had threaded all of the beads on to cotton, using the doorway as a rough guide to size (there are around 14 strands to the curtain), I then attached the cottons to a cocktail stick which I will later paint.  This picture gives you a little idea of how it will look when in place.
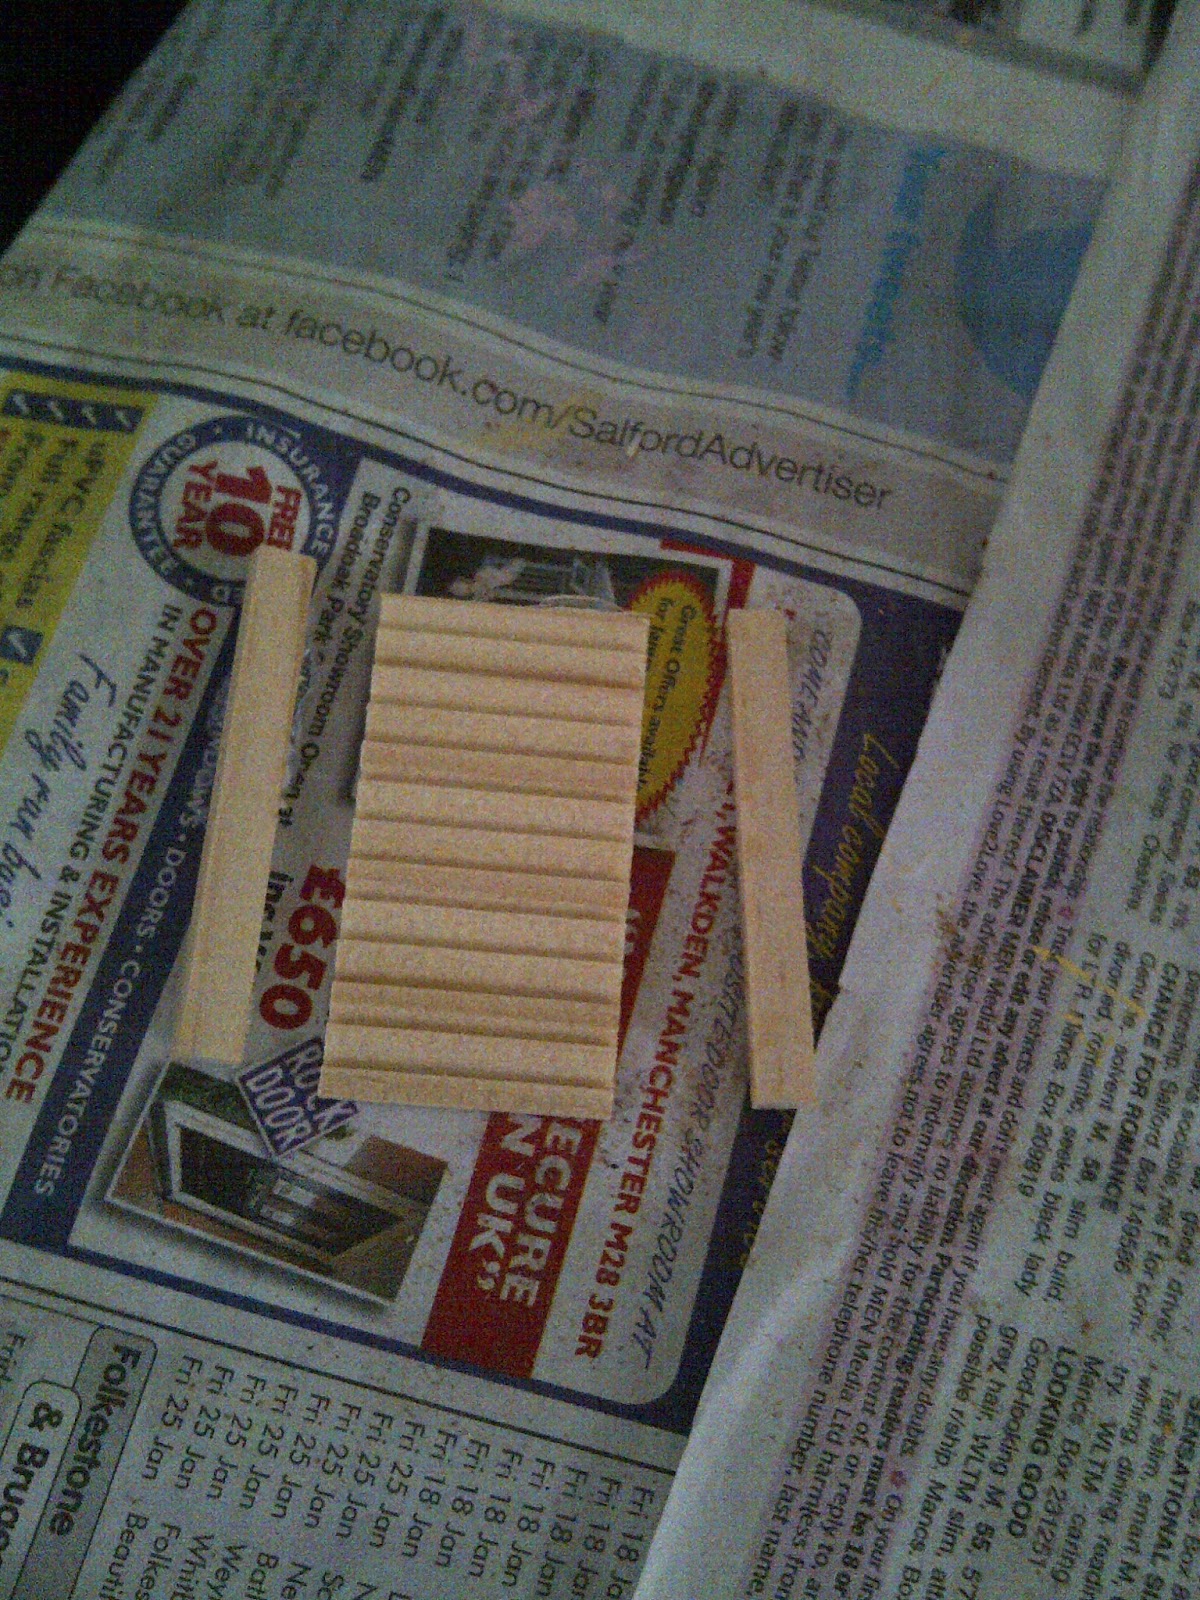

 Around every corner there is a hurdle.  I was painting more sections of the caravan and began work on the windows only to find that the shutters are too big!  They are approximately (in my stickler for details opinion lol) about 1 half inch over size, or there about.  One covers the window, two over power the wall of the caravan, such a shame because I like the shape and they are the right height.  Happily, I found that when I pressed gently on the shutters, the side sections came off, making them just about the right size, fantastic! I painted these in the lovely buttermilk yellow that I am using for the wheels and undercarriage.  


As I said I’d been doing mostly painting and gluing but I have managed to make some wallpaper that I liked for the inside, it will hardly show once all the furniture in in place but I wanted something other than just paint as simple paint can be a little uninteresting and I want this caravan to be brimming with interest, so here is the wallpaper.


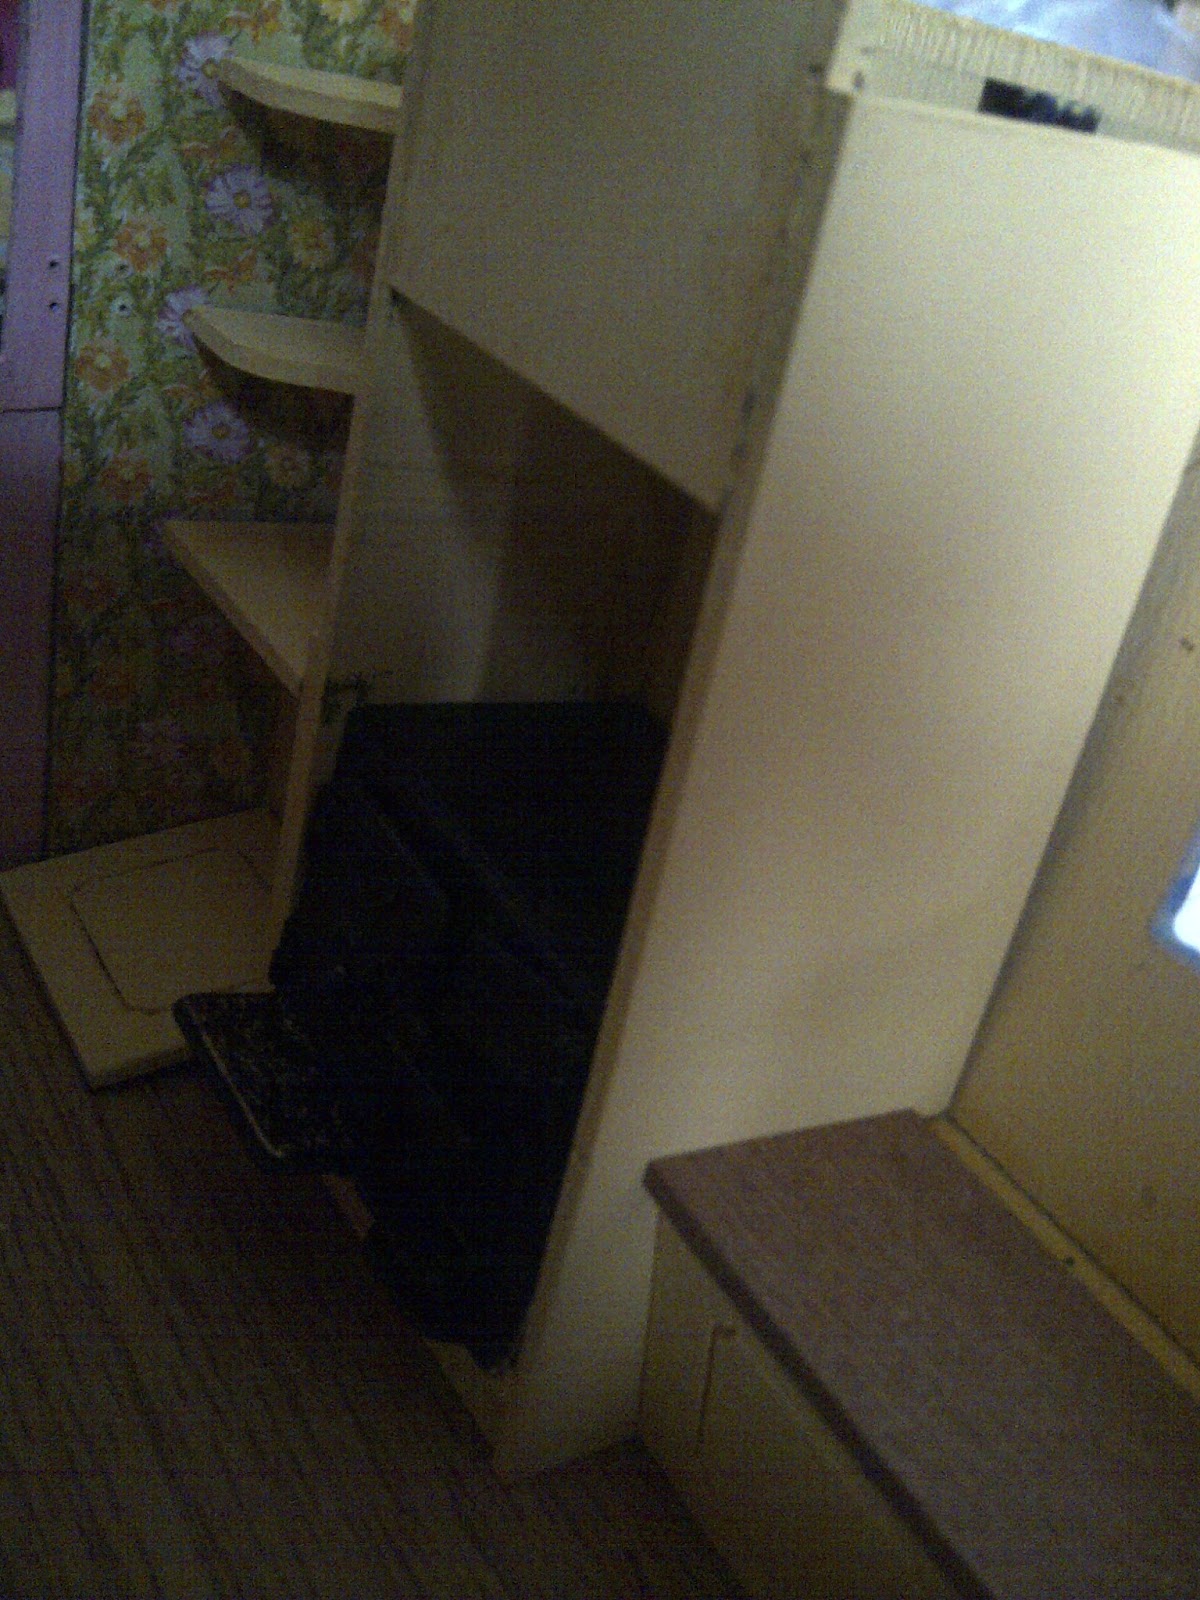
Inside you can see it is coming along and has great potential, nothing is glued in place yet as there is still a long way to go, I’m making the cupboard doors open etc so lots to do still and of course every inch will need some form of decoration but so far so good.
Next job will be adding detail to the outer shell. 


Don’t forget to enter my giveaway and check out my other blogs too.
Hugs
Gill x